From eScan Wiki
How to generate a SSL certificate using Certificate Authority (CA)
The scope of this document is to generate a SSL certificate using one of the many Apple Approved Certificate Authority (CA).
Note: Make sure you check and go through the below link before proceeding further
http://wiki.escanav.com/wiki/index.php?title=Escan/english/escan11/eScan_Management_Console/EMM/Pre-Requisites_Managing_iOS_Devices
We have used letsencrypt.com CA to generate a free SSL certificate. There might be other CA websites available which provide free SSL certificate. The steps will change for other providers so kindly check the respective website for the exact steps.
- Decide on the Domain-Name or the Sub-domain. e.g. emm.mycompany.com or mydomain.ddns.net. If you already have the EMM server running and you are using a ddns domain name, you can use the same.
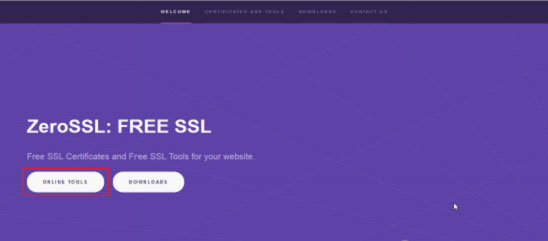
- Go to https://zerossl.com/
- Click "Online Tools"
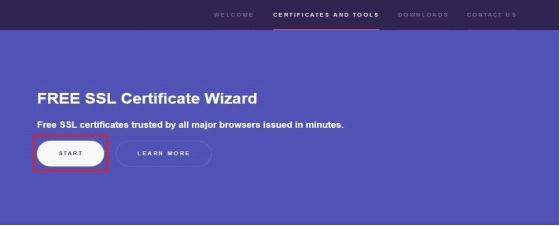
- Click "Start" on the "Free SSL Certificate Wizard" page.
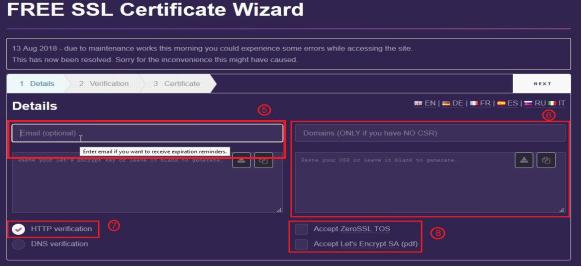
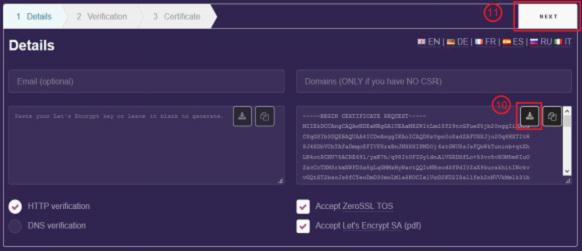
- Add email address so that you can get a notification about the expiration of the certificate.
- Add the Domain name/Sub-domain for which the certificate has to be generated or you can paste the CSR (Certificate Signing Request) if you already have one.
- Select HTTP verification
- Select both the check boxes to accept the TOS.
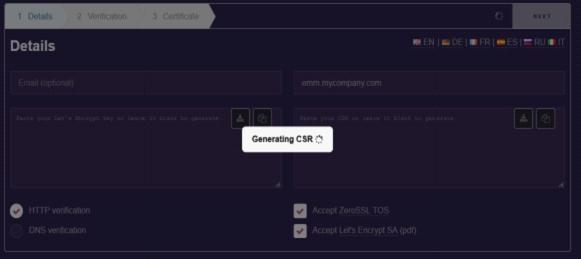
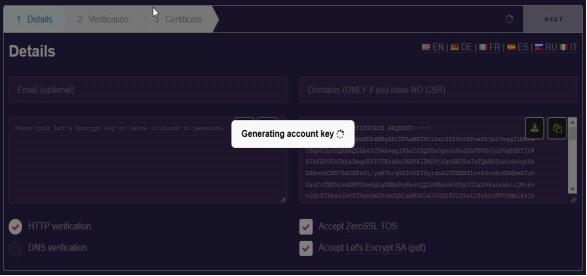
- Click on "Next" and select "No" at the "Include www-prefixed version too?" prompt. CSR file will be generated.
- Download and Save the CSR that is generated.
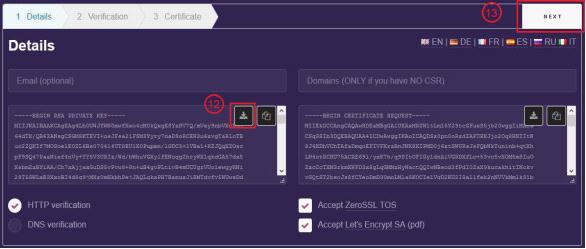
- Click on "Next", an Account key will be generated.
- Download and Save the Account key that is generated.
- Click on "Next'
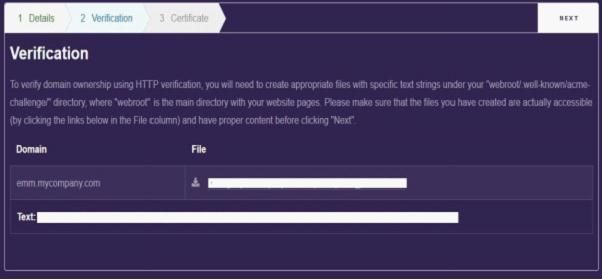
- Create the directory structure on your server. This is required for the SSL verification process..
- Once this is done, click on "Next" to proceed with the verification.
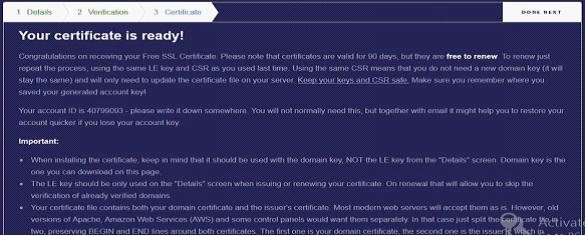
- After successful verification, a certificate and a Private key will be generated.
- Download and Save the Certificate and the Private key file which will be used in eScan console when you start with iOS.
Note:
1. Steps to create directory structure are provided in the "Steps to create directory structure" section below.
2. After completing the steps 1-7 in the "Steps to create directory structure" section return to Step 15 of this section.
Recommendations:
- The customer can generate a SSL Certificate using NO-IP domain, however, it is strongly NOT RECOMMENDED to do so.
Creating a directory structure for SSL verification process
Step 1: Open cmd in elevated mode.
Step 2: Go to the apache2\conf directory.
C:\Program Files\Common Files\MicroWorld\apache2\conf (32-bit OS)
C:\Program Files (x86)\Common Files\MicroWorld\apache2\conf (64-bit OS)
Step 3: Download the SSL_files.zip from the link SSL_files.zip and unzip the files.
Copy the file httpd_SSL_x86.conf to the apache2\conf directory of a 32-bit OS.
Copy the file httpd_SSL_x64.conf to the apache2\conf directory of a 64-bit OS.
Step 4: Create the said directory structure as per Verification page of "ZeroSSL" website "FREE SSL Certificate Wizard" ie: .well-known\acme-challenge
To create directory, go to the apache2 directory.
C:\Program Files\Common Files\MicroWorld\apache2 (32-bit OS)
C:\Program Files (x86)\Common Files\MicroWorld\apache2 (64-bit OS)
md .well-known\acme-challenge
(It is recommended to copy/paste the command, to avoid mistakes)
Step 5: Copy the file downloaded from the Verification page of "ZeroSSL" website "FREE SSL Certificate Wizard" to the
C:\Program Files\Common Files\MicroWorld\apache2\.well-known\acme-challenge (32-bit OS)
C:\Program Files (x86)\Common Files\MicroWorld\apache2\.well-known\acme-challenge (64-bit OS)
Also, copy the index.htm file to the below path, you will get the file from SSL_files.zip as downloaded in Step 3.
C:\Program Files\Common Files\MicroWorld\apache2\.well-known\acme-challenge (32-bit OS)
C:\Program Files (x86)\Common Files\MicroWorld\apache2\.well-known\acme-challenge (64-bit OS)
Step 6: Go to the apache2\bin directory and execute the below command to start a new apache server instance.
httpd -f "C:\Program Files\Common Files\MicroWorld\apache2\conf\httpd_SSL_x86.conf" (32-bit OS)
httpd -f "C:\Program Files (x86)\Common Files\MicroWorld\apache2\conf\httpd_SSL_x64.conf" (64-bit OS)
To check if the instance is started and working, open a new tab in the browser and visit.
emm.mycompany.com/.well-known/acme-challenge/index.htm
Which should display the string "Welcome to SSL verification"
Step 7: Once the file is copied and the apache server instance has started,
Open a new tab in the browser and visit emm.mycompany.com/.well-known/acme-challenge/FILENAME
(Which was created in this folder for the purpose of SSL Verification via HTTP on ZEROSSL website.)
Check if it works as expected as mentioned on the Verification page of "ZeroSSL" website "FREE SSL Certificate Wizard".
